Windtunnel Design & Construction – part 4: welding
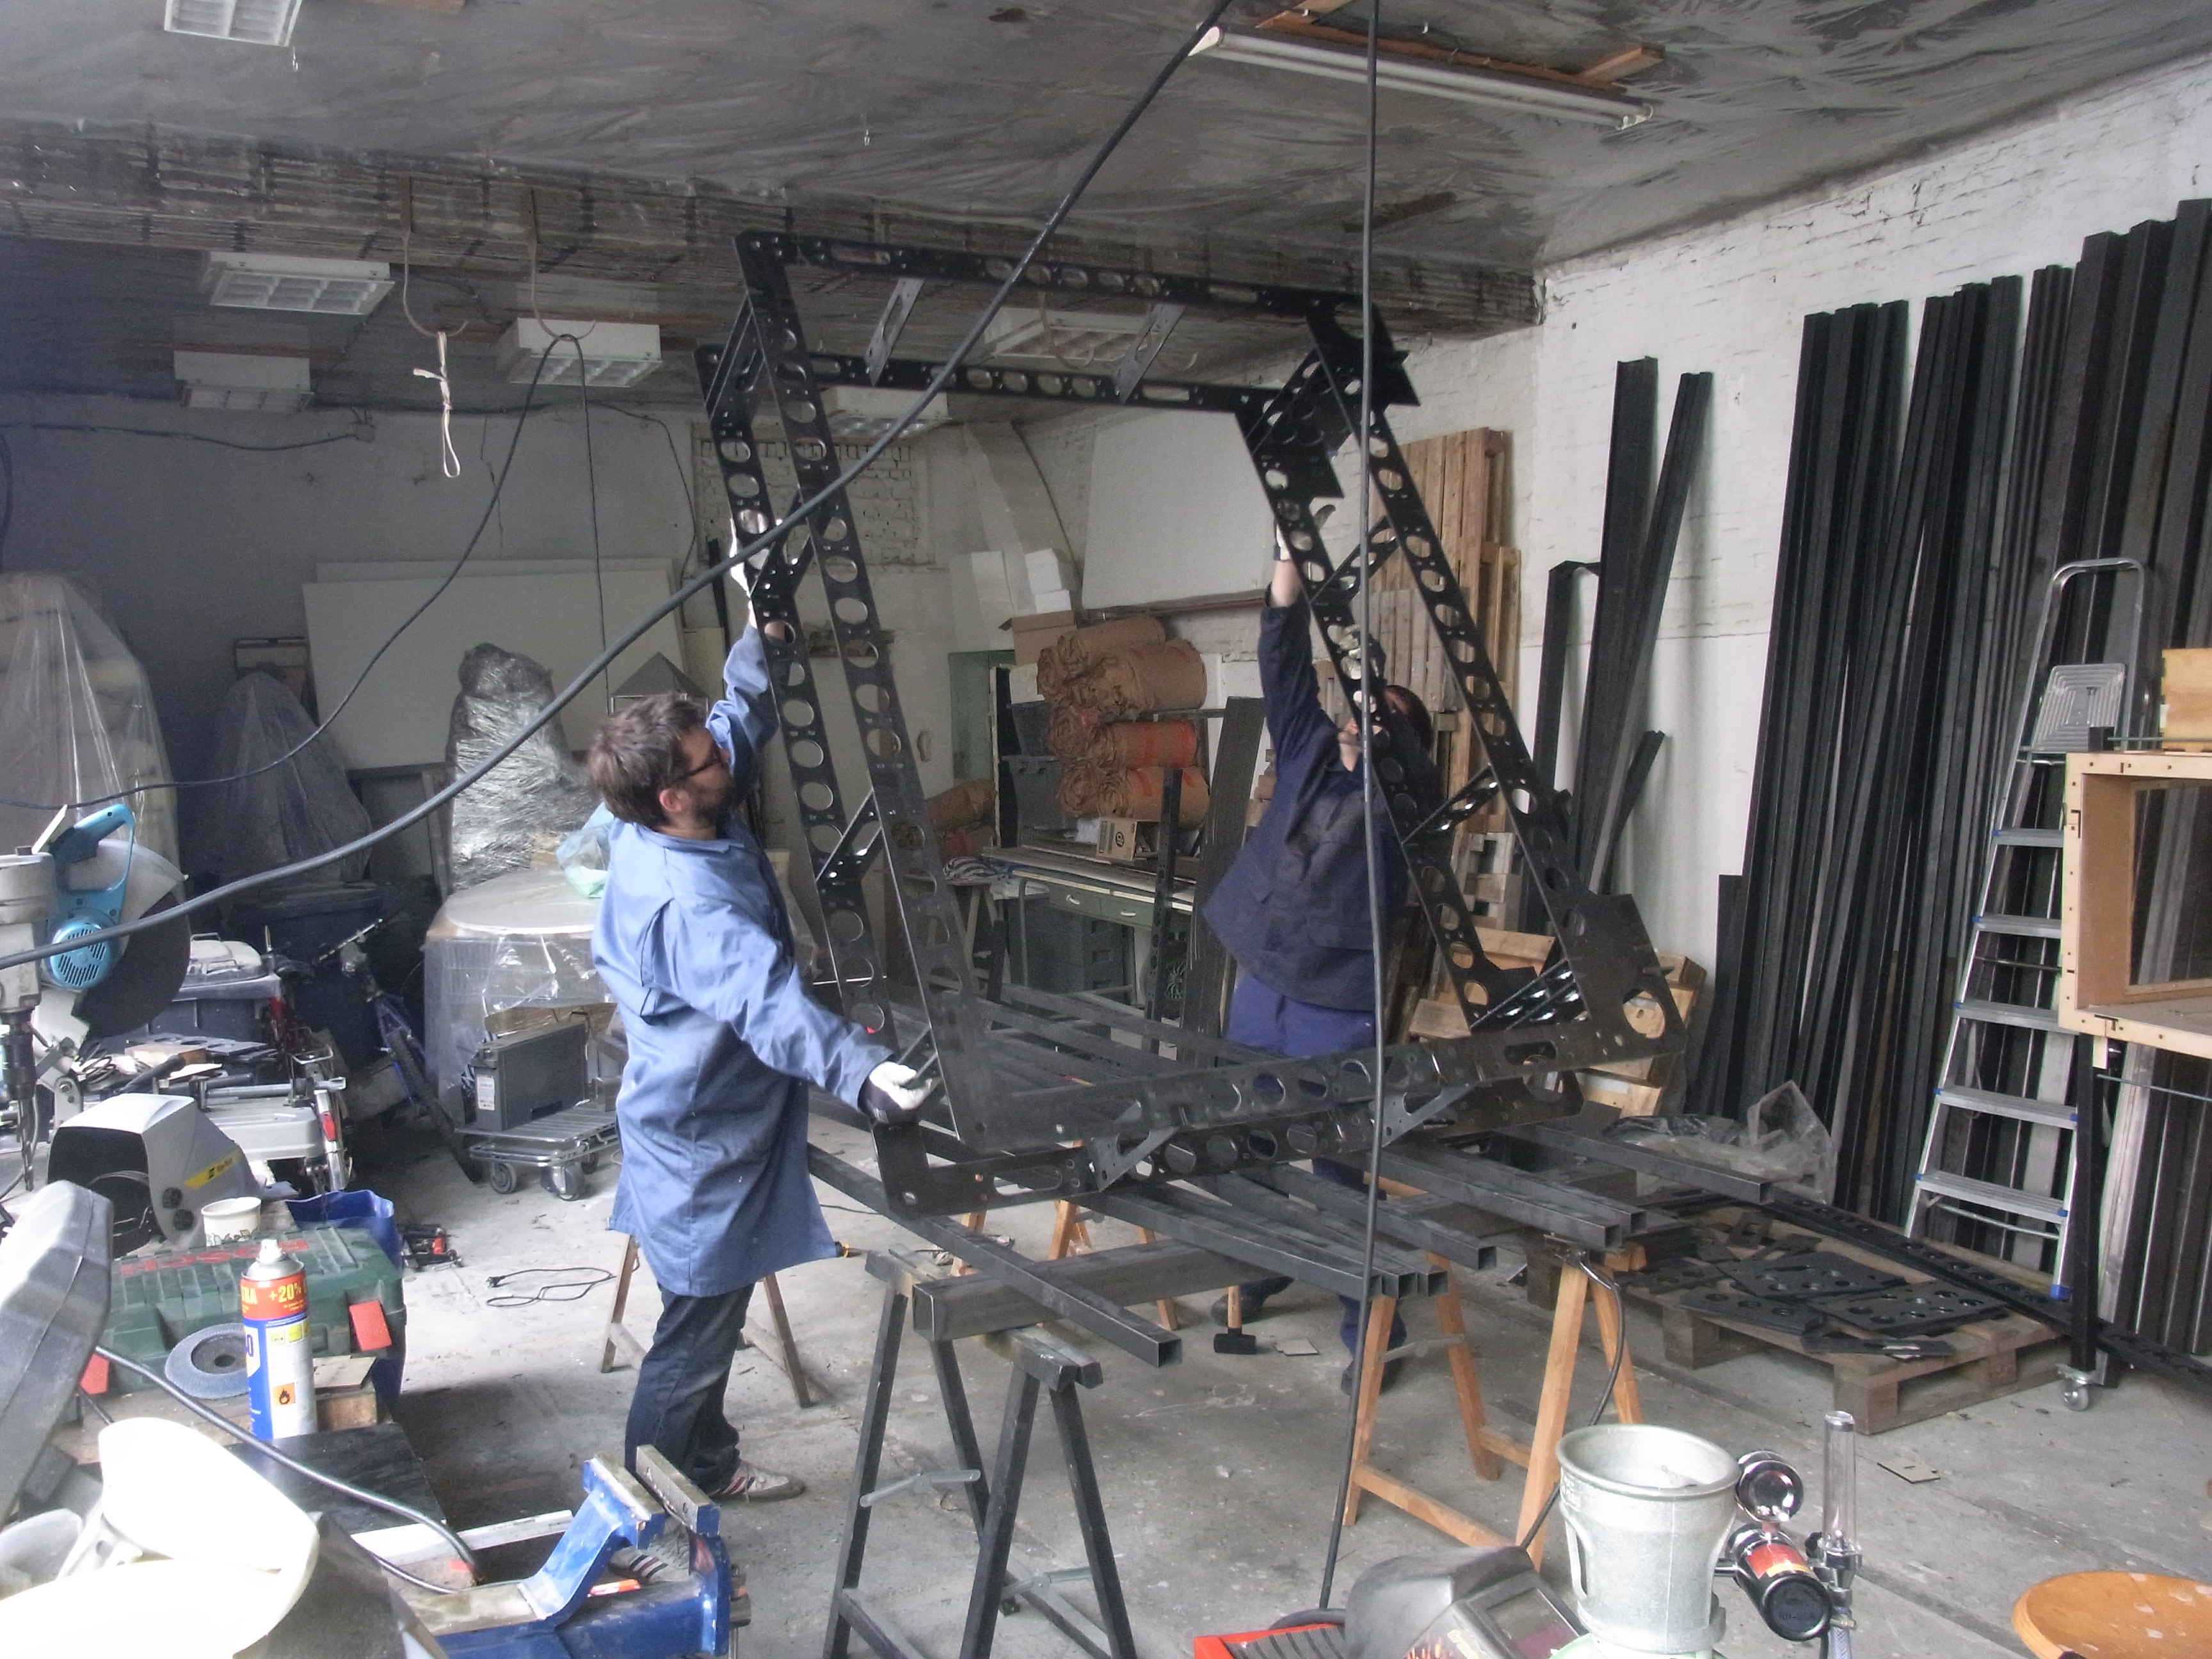
Welding was done in the Antwerp workshop, with Kristof Arickx.
A welding table was set up from 80x80mm square tubes.
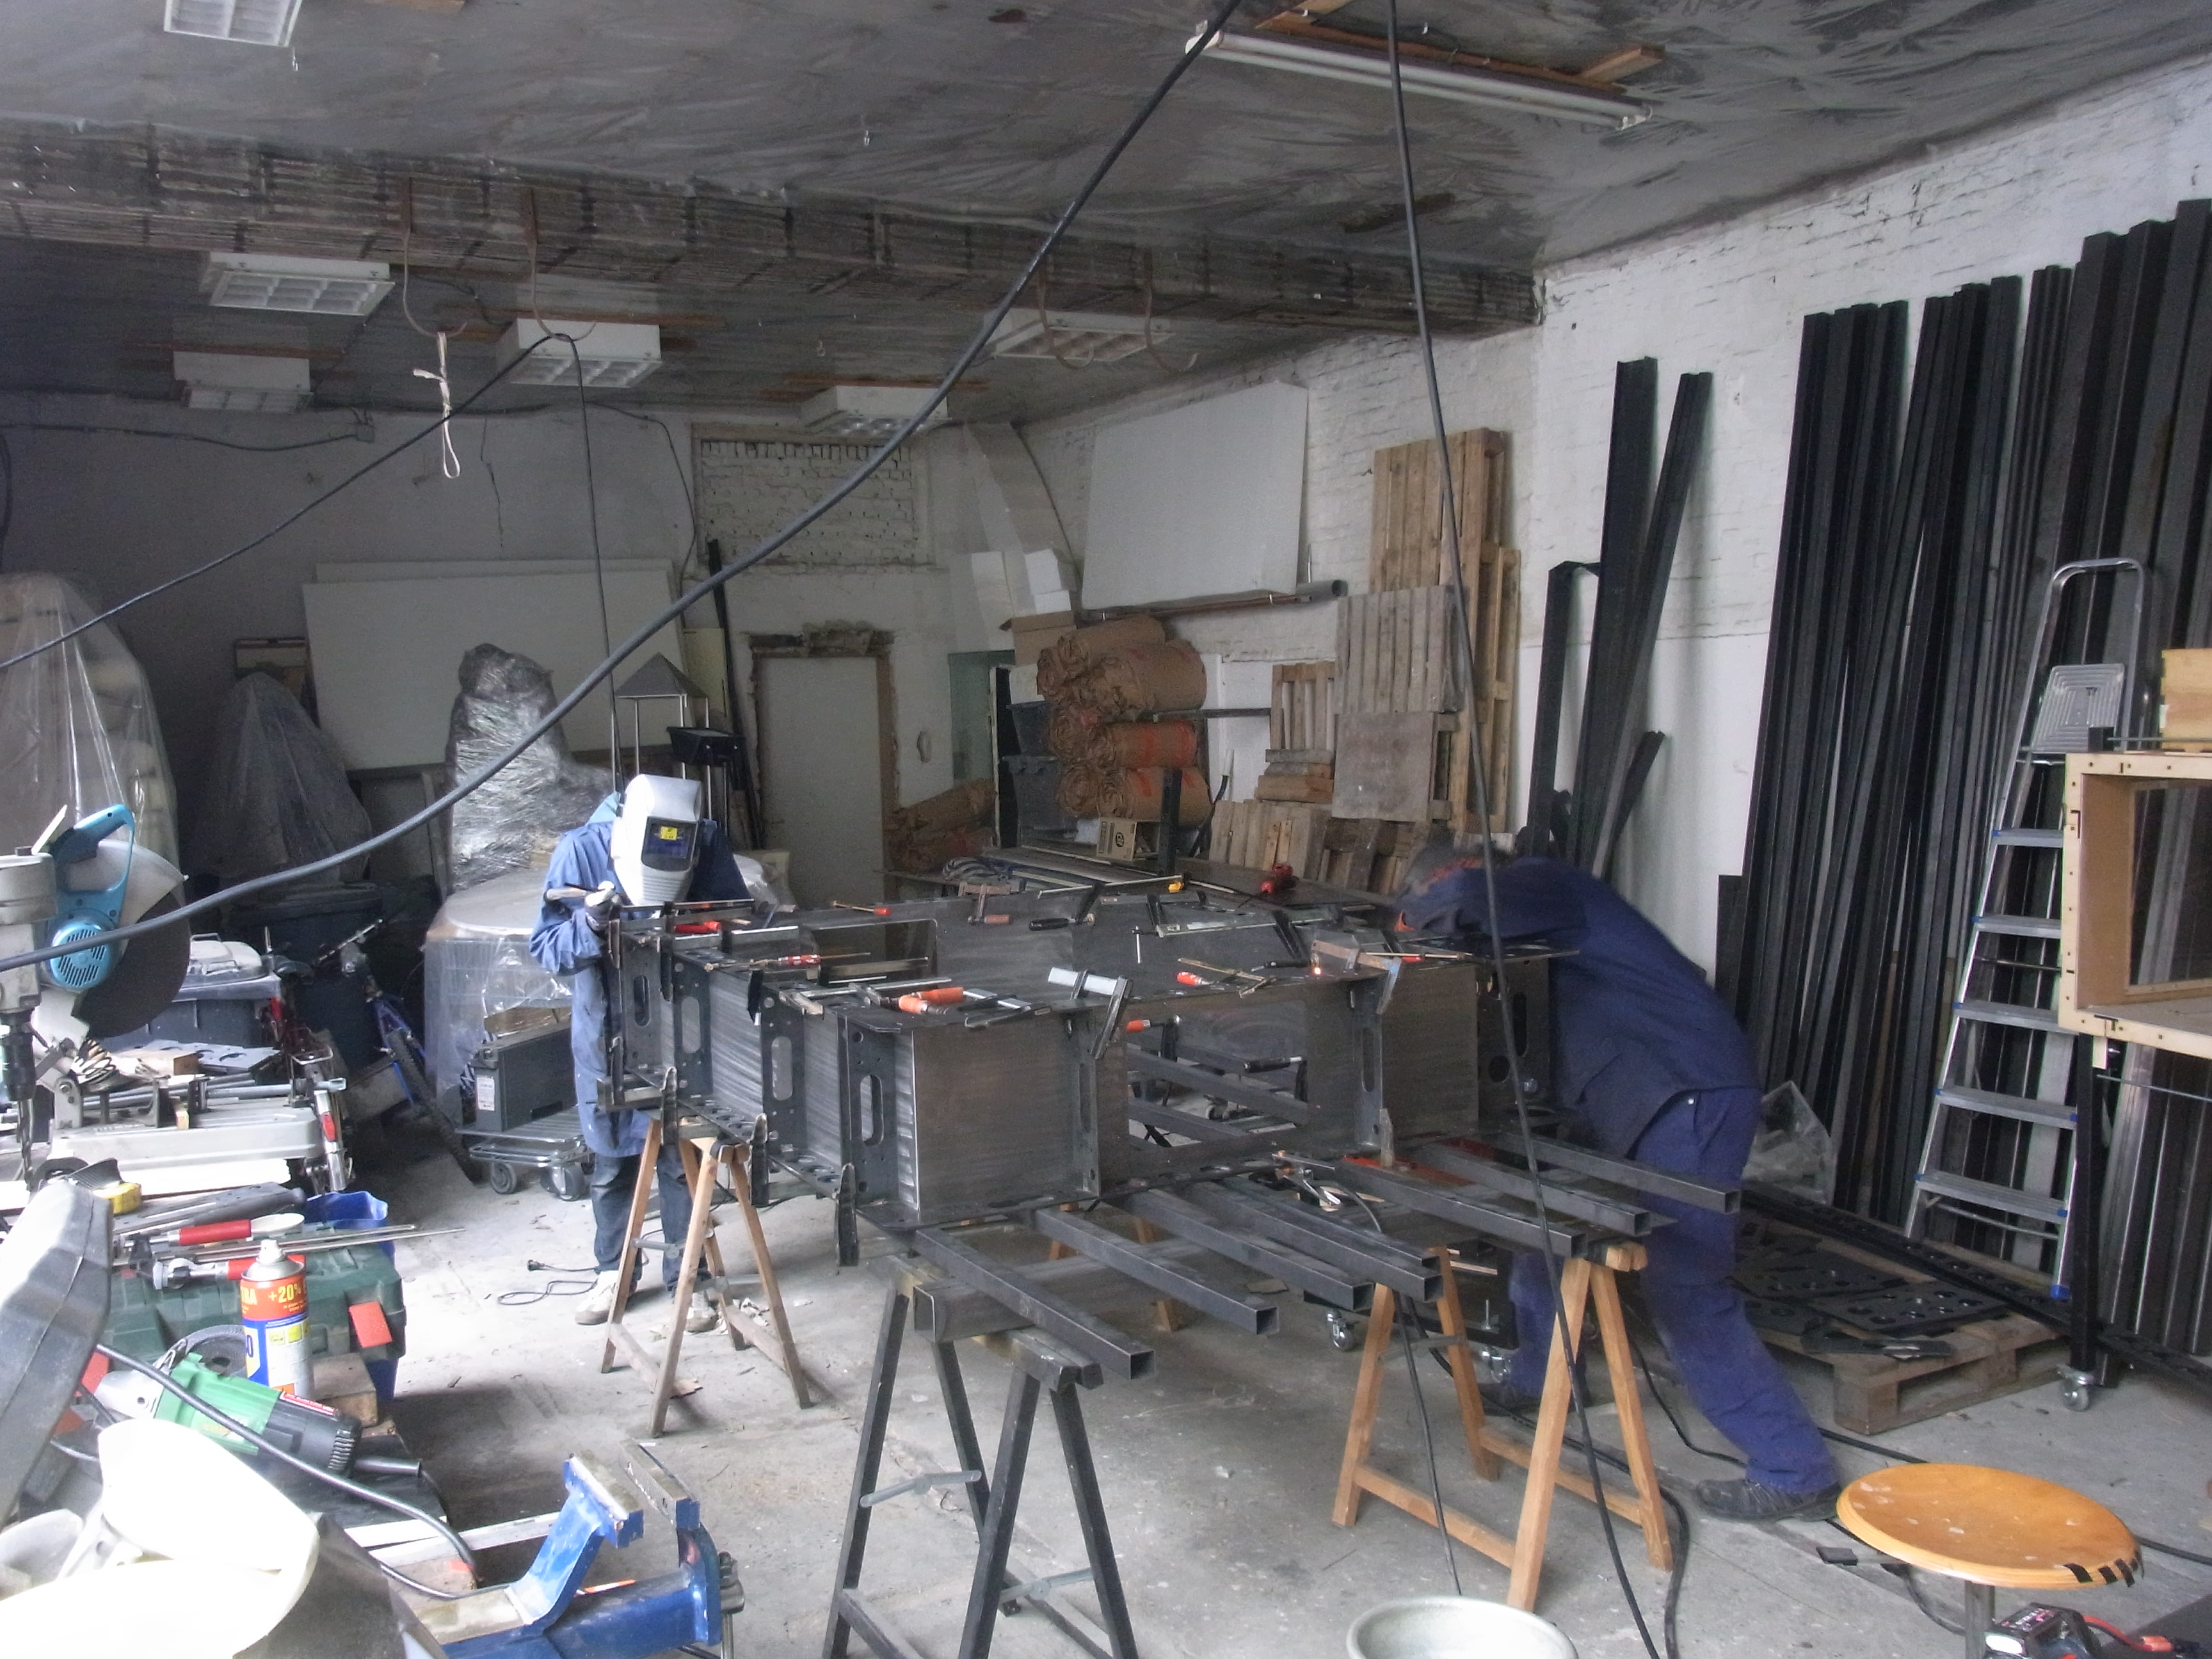
The 6mm lasercut parts were then assembled on the table.
These had been cut to fit together slot-and-groove-fashion, with a 0.2 mm tolerance on the cuts.
The first parts to be assembled were the settling chamber boxes.
Keeping the boxes straight and dimensionally accurate during welding proved a challenge.
The first box was discarded, having distorted by the heat of the welding process.
For the next boxes a method was developed to minimise distortions:
-assemble & clamp down the entire part before welding. You need a lot of clamps
-use only tack welds and only on the parts clamped against the welding table
-only tack the top pieces enough to have them stay in place and turn the part over
-tack the other side, while clamped against the table
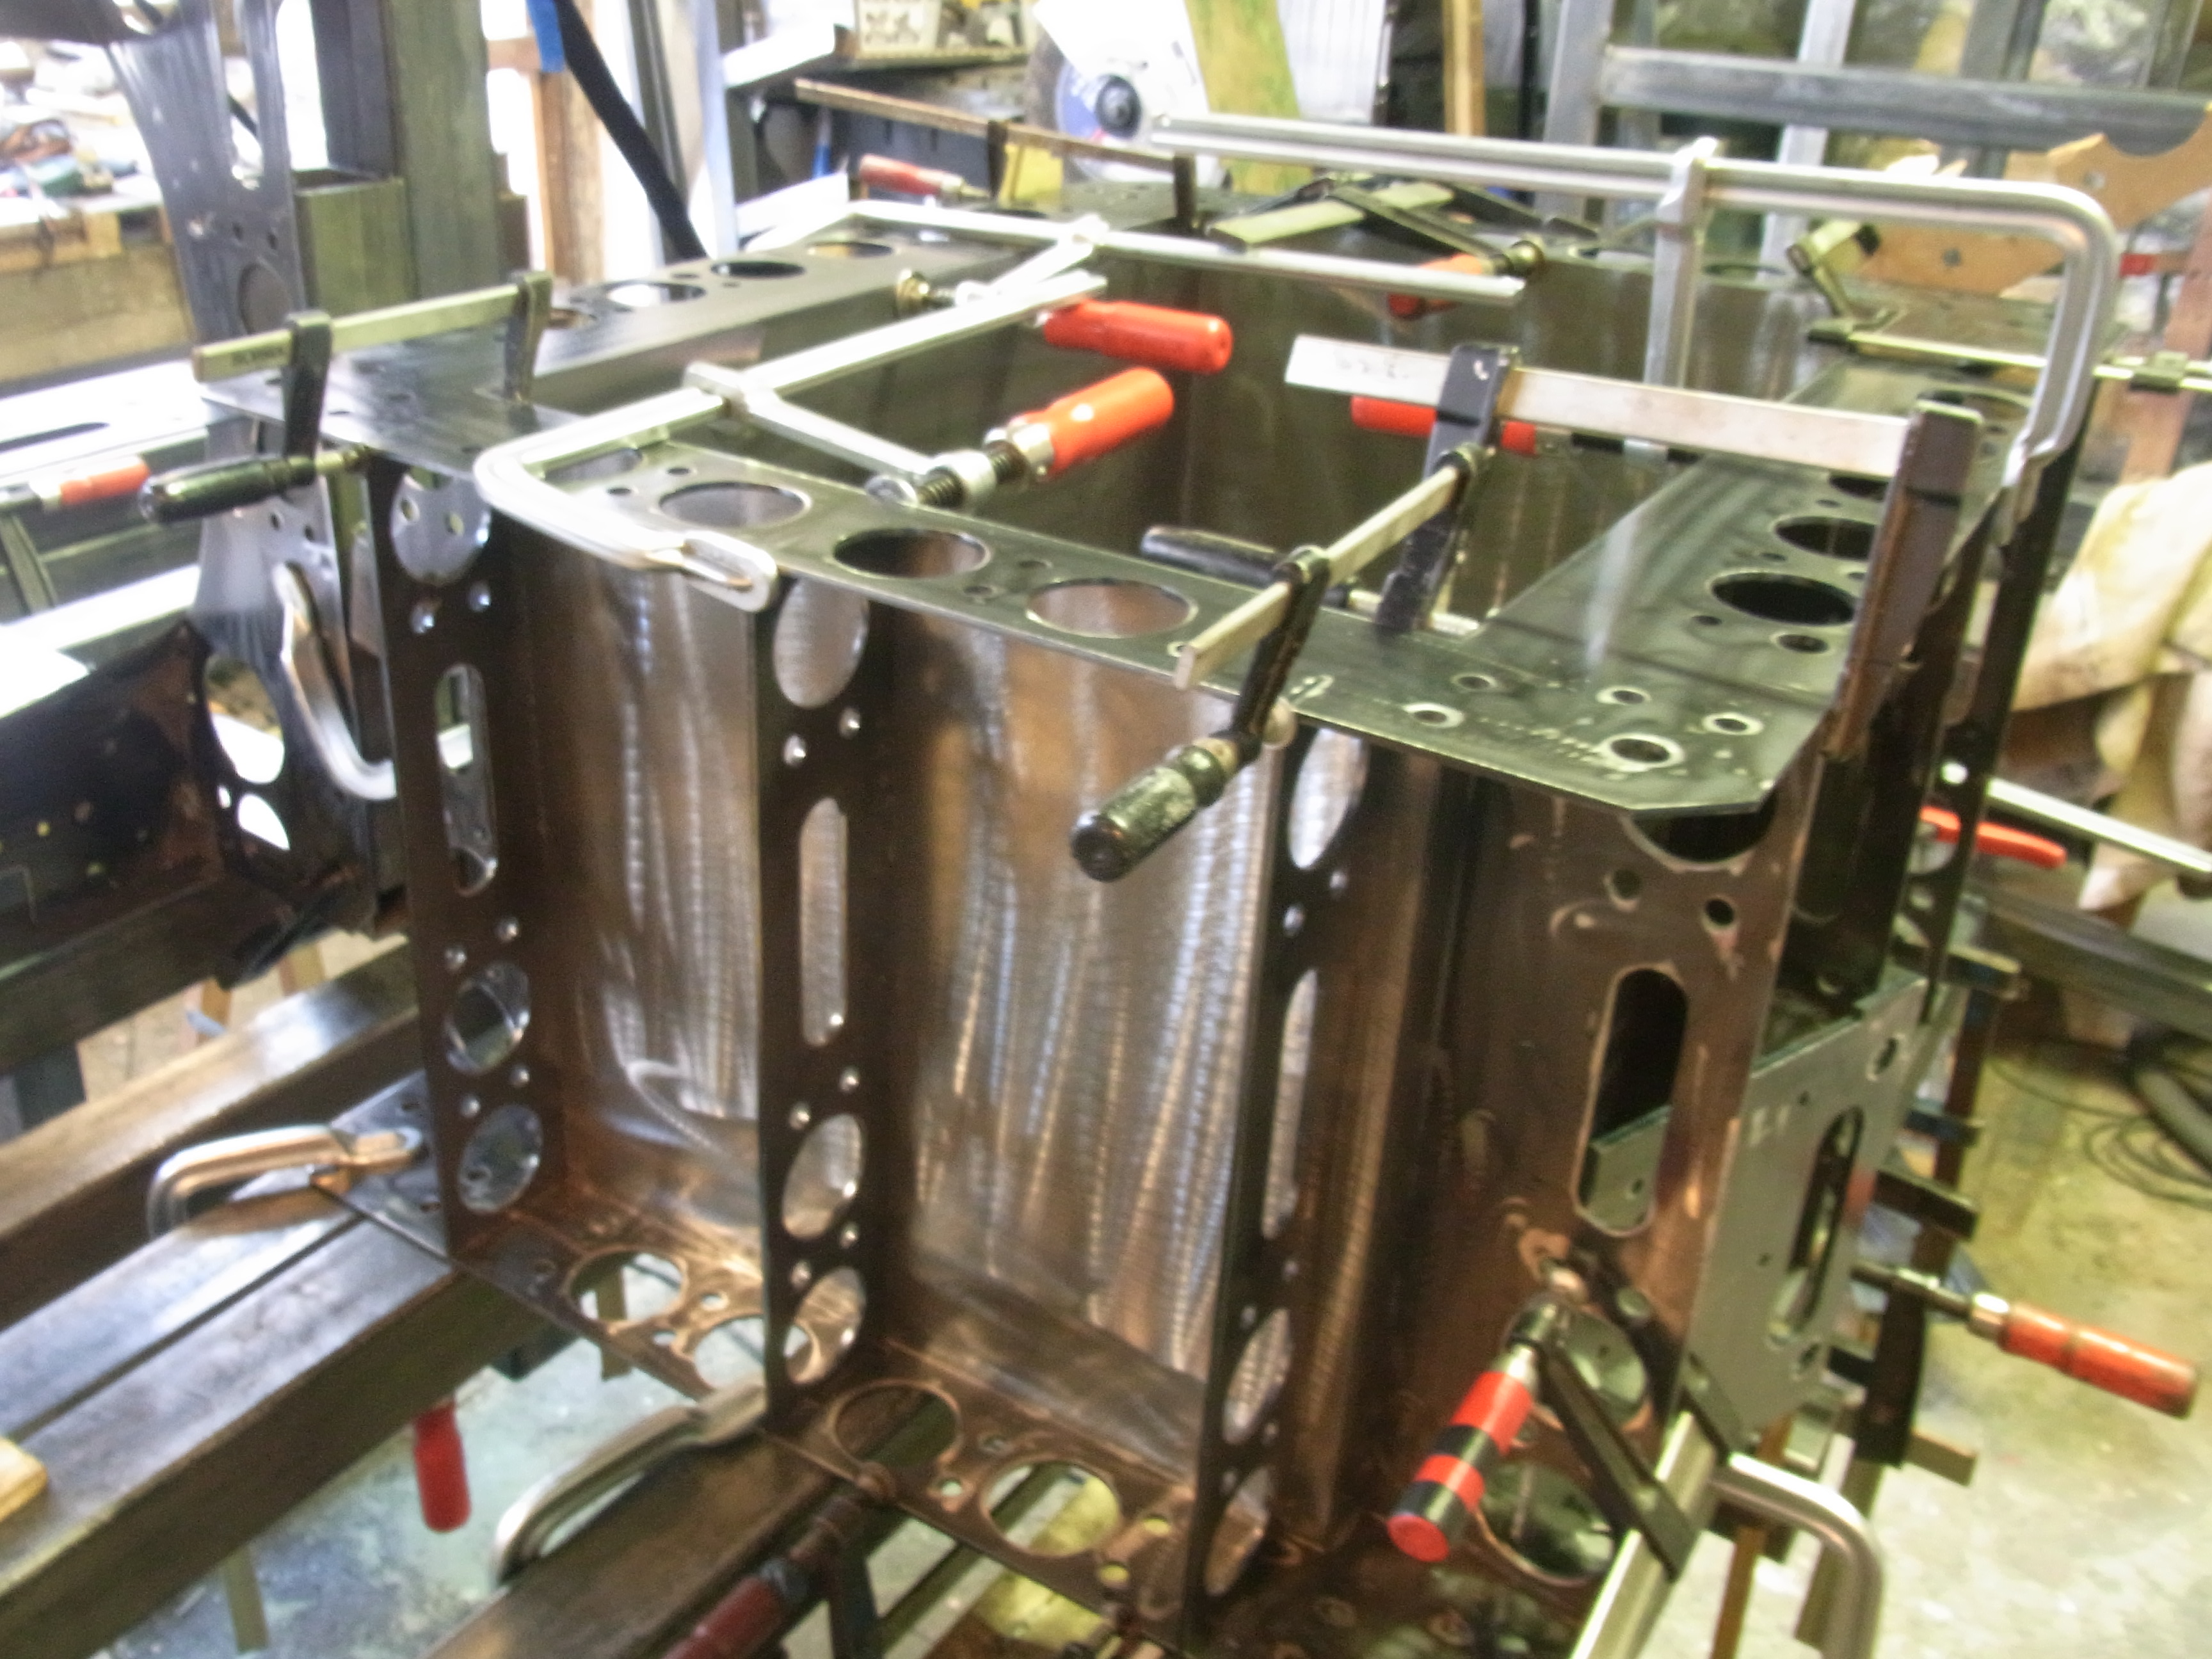
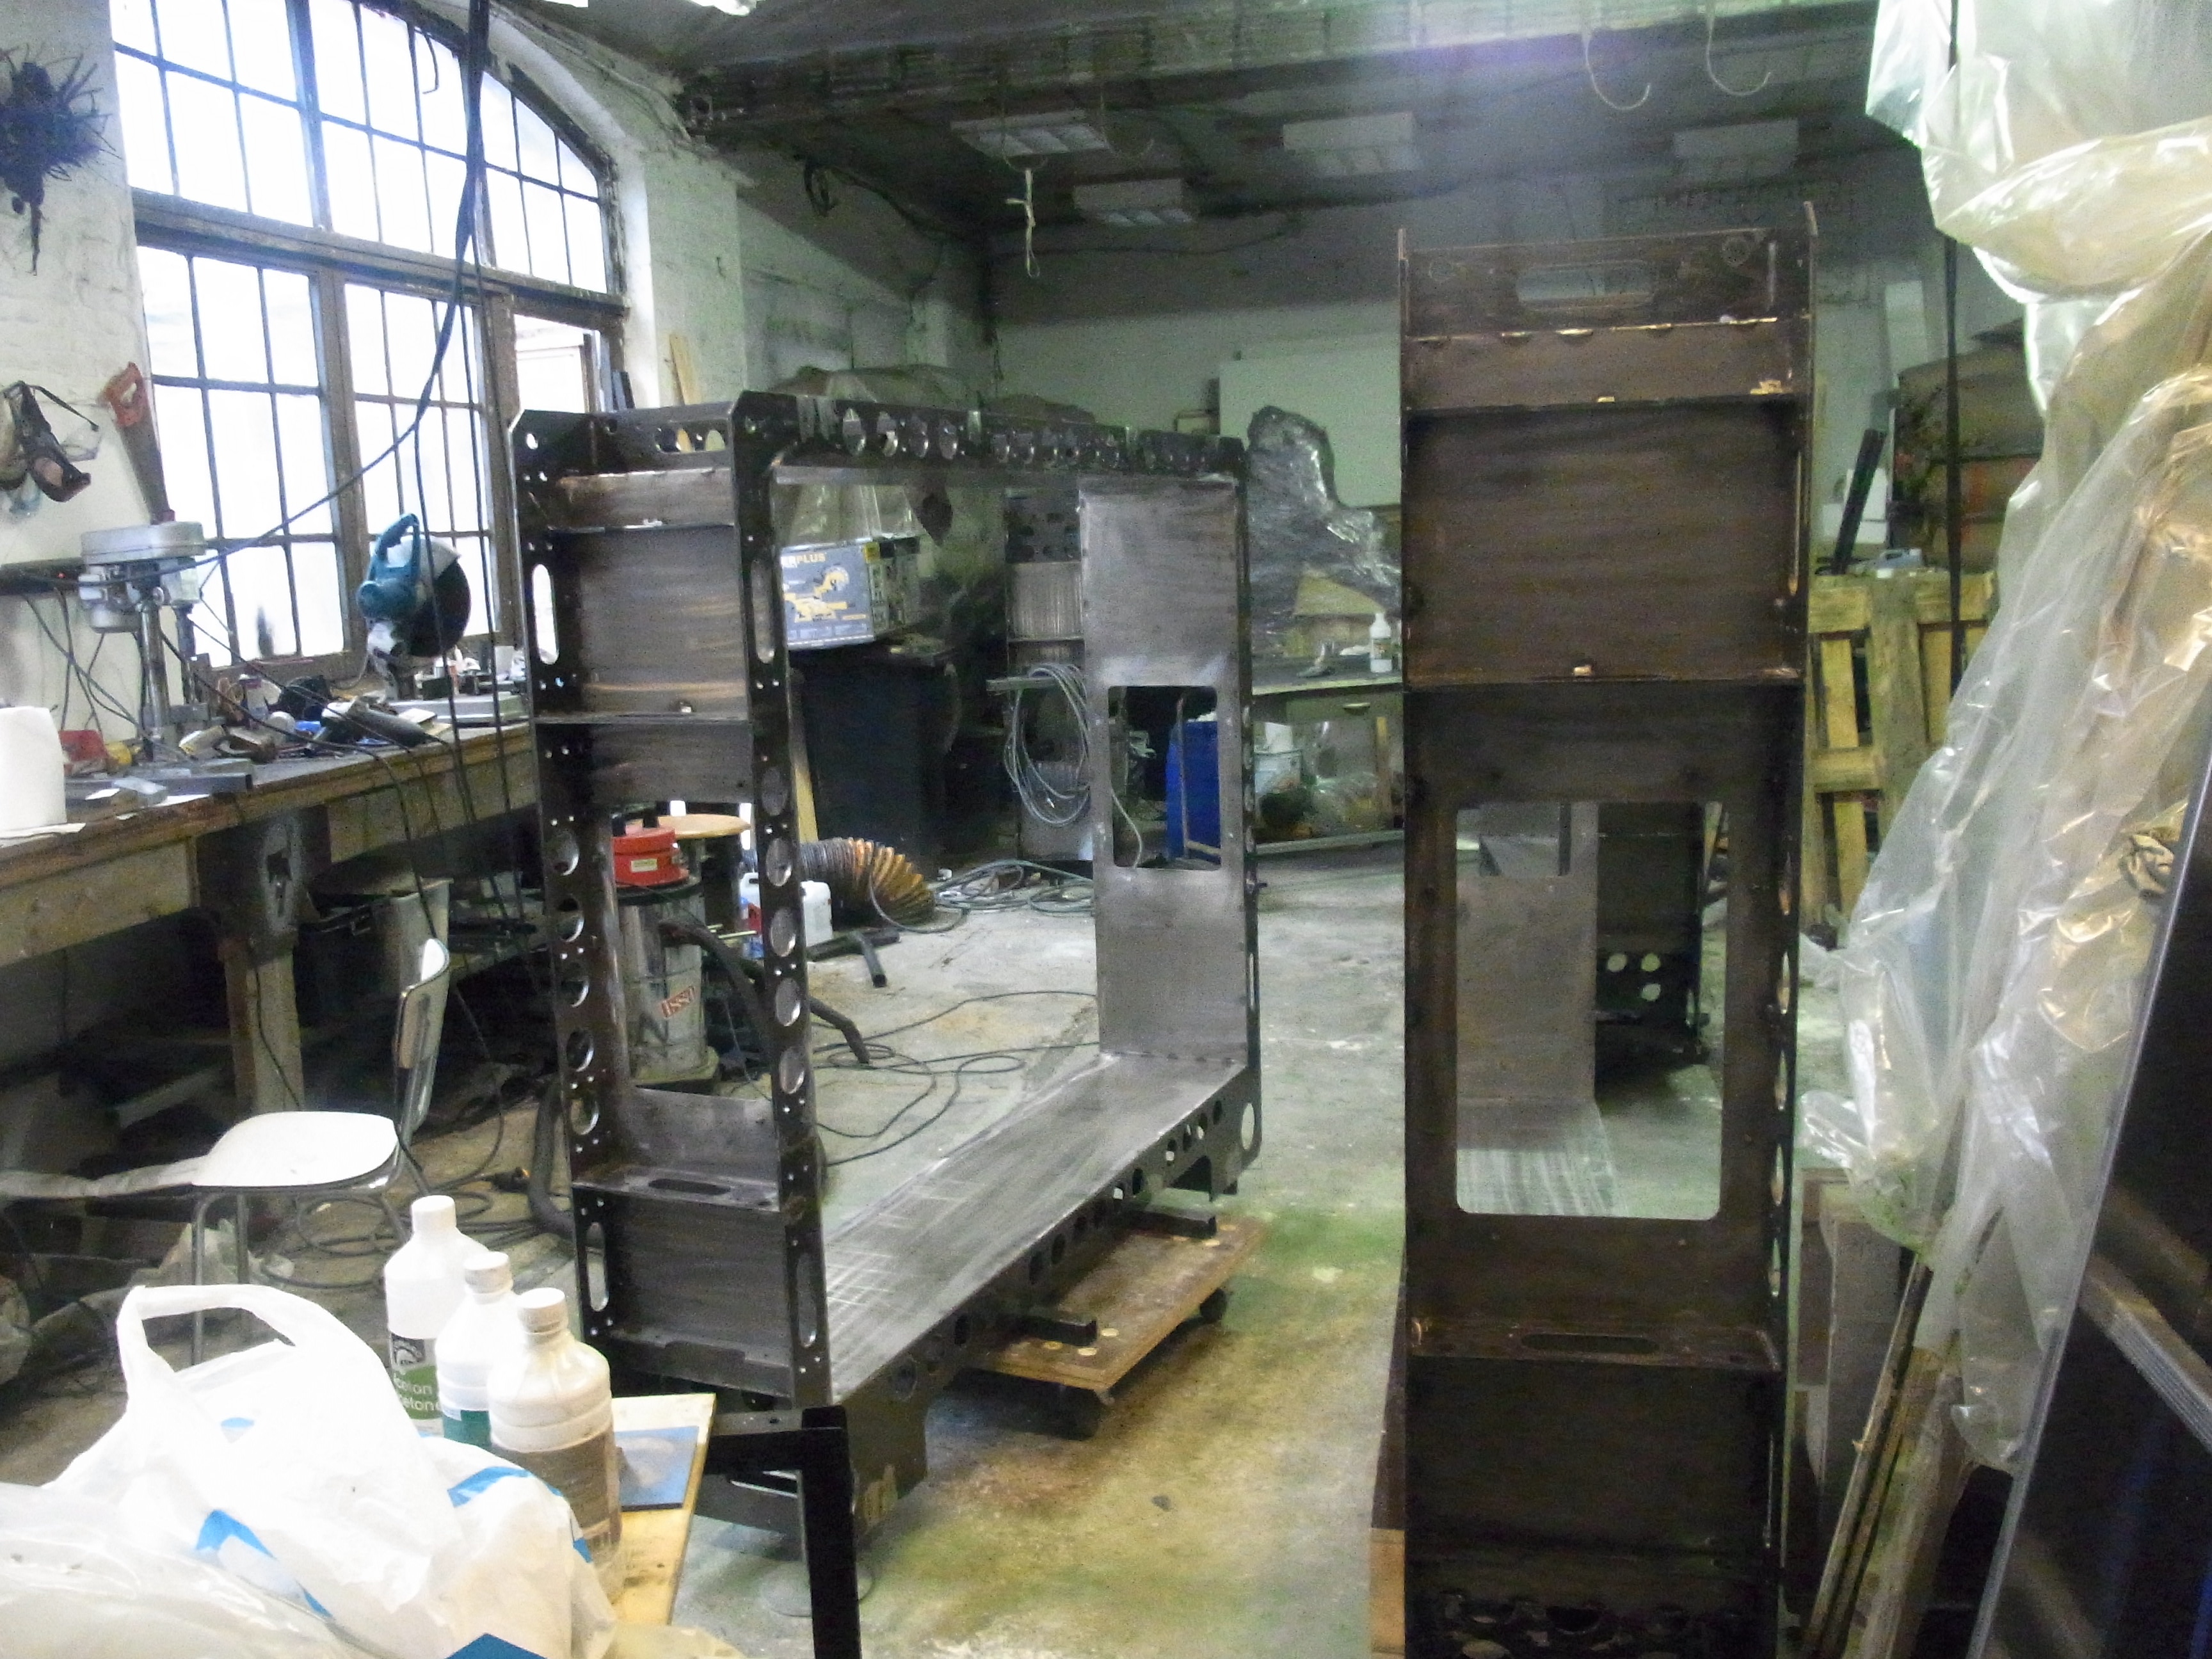
The image above shows a later part (an extension piece of the test section) demonstrating the assembly with clamps. At this point in the process nothing has been welded yet. The bottom half will be tack welded. The top will get only a couple of tacks. After his the part will be turned over, clamped down again and the other half will be welded.
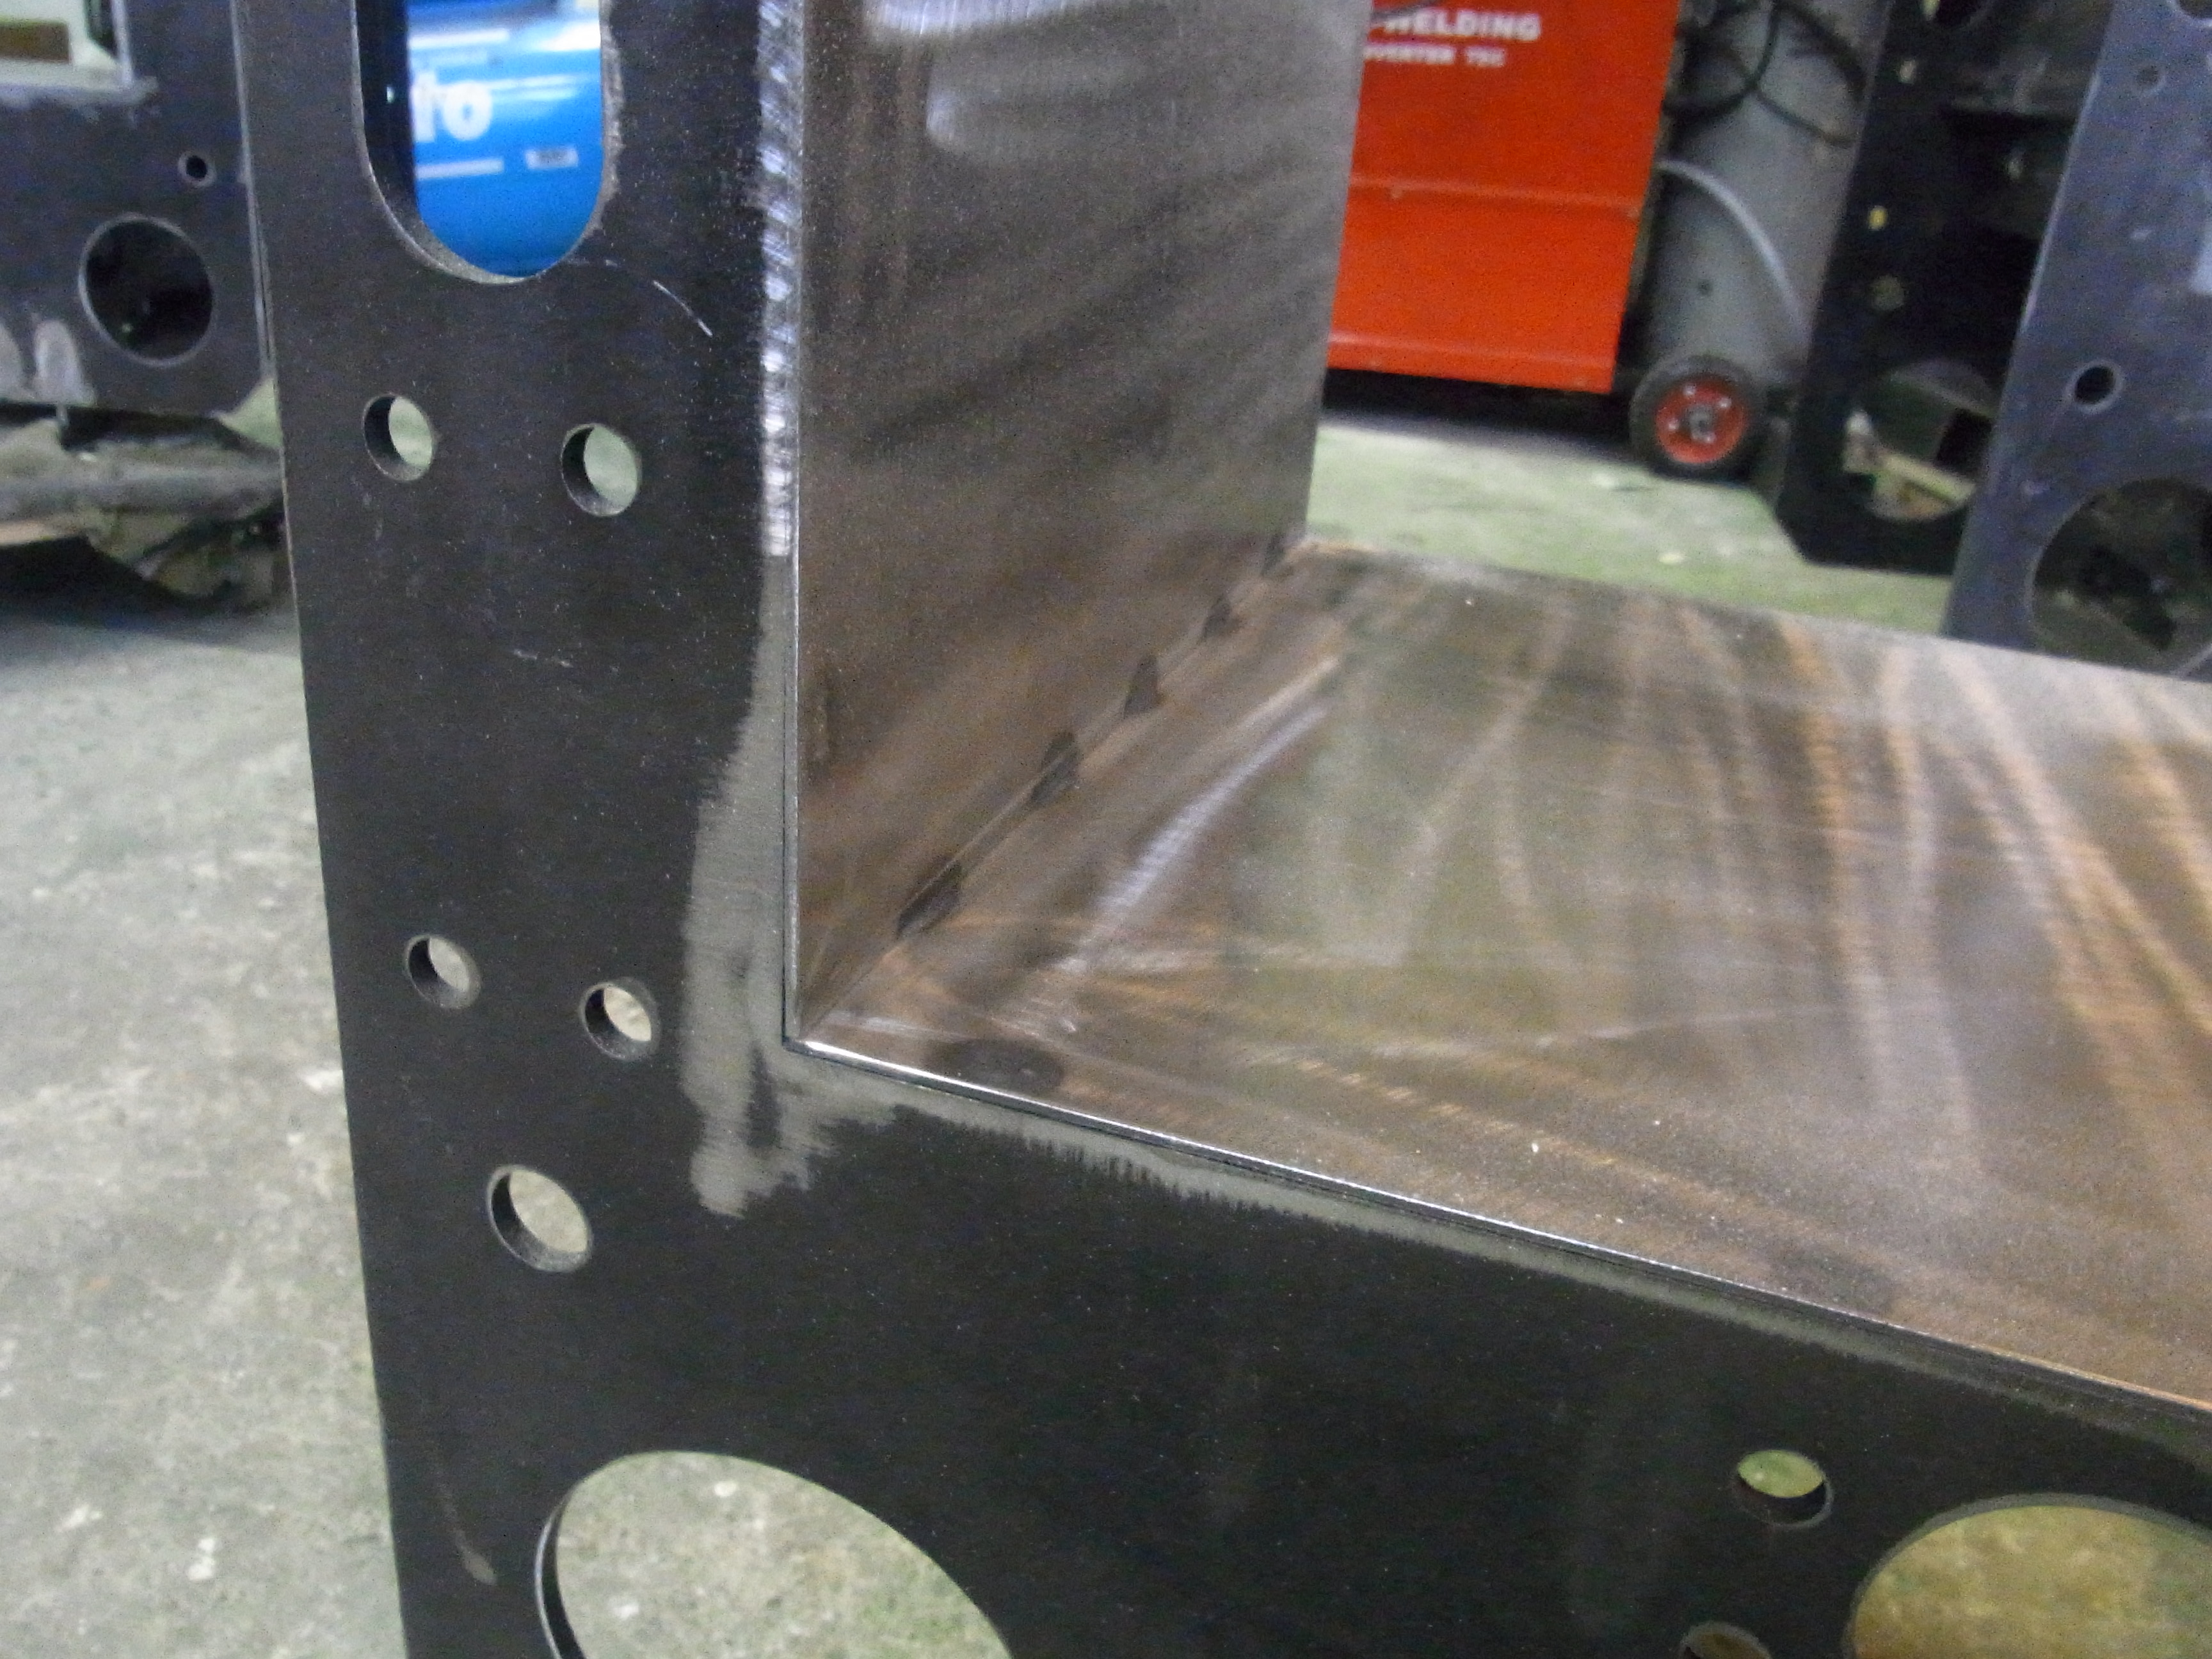
The finished settling chamber boxes…

Details showing the welds.